The Background Stars
Creating and Animating the Stars Using CustomPainter
Welcome to one of the Dashtronaut app tutorials, in this one, we will create and animate the stars you see in the background of the game using Flutter’s CustomPainter. Here’s the final result:

TL, DR;
You can check out the code for this feature alone in this DartPad. We will talk in later tutorials about how it was integrated and used in the puzzle’s source code.
Planning
Let’s start some planning by considering the task and figuring out what we need to implement.
- The painting part:
- Tiny circles laid out on the screen
- The circles are positioned at random x and y locations (offsets)
- Those x and y offsets should cover all and not exceed the screen width and height
- The circles have random tiny sizes
- The star count should change based on screen size.
- The animation part:
- We should keep in mind that the animation should be subtle so as to not be very distracting or straining, especially that in our case there is a lot going on around it with the puzzle and its surrounding UI. (Feel free to adjust the animation based on your use case)
- So we will target the opacity of the stars
- We need 2 lists of indices, one for stars that fade-in, and one for stars that fade out. The fade-in/fade-out will happen to separate stars but at the same time, creating a semi-realistic effect
Okay, enough planning, time for some code!
1. The Painting
1.1. StarsLayout Class
In these cases I like to create helper classes that I can dump all the logic in. So we’ll create a StarsLayout class and give it the BuildContext as a required field. After all, we talked a lot in the planning about the “screen size”, so we will definitely need the context. So here’s the class with what we need for the painting part
class StarsLayout {
  final BuildContext context;

  StarsLayout(this.context);

  Size get screenSize => MediaQuery.of(context).size;

  // Stars count changes based on screen width
  int get totalStarsCount {
    if (screenSize.width > 576) {
      return 600;
    } else if (screenSize.width > 1200) {
      return 800;
    } else if (screenSize.width > 1440) {
      return 1000;
    } else {
      return 400;
    }
  }

  final Random random = Random();

  int get starsMaxXOffset {
    // Sometimes when the context is not accessible yet,
    // the screen size might have a negative or 0 value,
    // which throws an error if given to the Random.nextInt()'s max param
    return screenSize.width.ceil() <= 0 ? 1 : screenSize.width.ceil();
  }

  int get starsMaxYOffset {
    // Sometimes when the context is not accessible yet,
    // the screen size might have a negative or 0 value,
    // which throws an error if given to the Random.nextInt()'s max param
    return screenSize.height.ceil() <= 0 ? 1 : screenSize.height.ceil();
  }

  List<int> _getRandomStarsOffsetsList(int max) {
    return List.generate(totalStarsCount, (i) => random.nextInt(max));
  }

  List<int> get randomStarXOffsets {
    return _getRandomStarsOffsetsList(starsMaxXOffset);
  }

  List<int> get randomStarYOffsets {
   return _getRandomStarsOffsetsList(starsMaxYOffset);
  }

  List<double> get randomStarSizes {
    return List.generate(totalStarsCount, (i) => random.nextDouble() + 0.7);
  }
}
The code breakdown:
- Line 6: we created a screenSize getter because we will use it a lot
- Line 9: getter for the count of the stars based on screen width
- Line 21: Random generator initialized
- Lines 23 => 35: getting the max values for the x and y offsets of the stars such that they don’t exceed the screen’s width and height. These values are converted to an int because they will be given to the Random generator’s “max” param, which only works with therandom.nextInt() function
- Line 37: Function that generates a list of random integers. The list has a length equal to the stars count. And the random integers range between 1 & the provided max value
- Line 41: list of random x offsets of type int with the max value of the starsMaxXOffset
- Line 45: list of random y offsets of type int with the max value of the starsMaxYOffset
- Line 49: list of random sizes of type double. The random.nextDouble() has a range between 0.0 => 1.0, so by adding the 0.7, we make the range 0.7 => 1.7 so that we don’t have 0 or very small sizes for the stars
1.2 The CustomPainter
Now we have the necessary logic to create our CustomPainter like so:
class StarsPainter extends CustomPainter {
  final List<int> xOffsets;
  final List<int> yOffsets;
  final List<double> sizes;
  final int totalStarsCount;

  StarsPainter({
    required this.xOffsets,
    required this.yOffsets,
    required this.sizes,
    required this.totalStarsCount,
  });

  final Paint _paint = Paint();

  @override
  void paint(Canvas canvas, Size size) {
    _paint.color = Colors.white.withOpacity(0.5);
    for (int i = 0; i < totalStarsCount; i++) {
      canvas.drawCircle(
        Offset(xOffsets[i].toDouble(), yOffsets[i].toDouble()),
        sizes[i],
        _paint,
      );
    }
  }

  @override
  bool shouldRepaint(covariant CustomPainter oldDelegate) => false;
}
We simply initialized a Paint class and gave it a temporary white color (this will be modified later with the animation). And with a for loop matching the totalStarsCount, we drew circles with the canvas.drawCircle() method and gave them their corresponding x and y offsets as well as sizes. These will be the lists we created in the StarsLayout class.
To be able to use these lists easily, we will add a getPainter() method to our StarsLayout class like so
class StarsLayout {
  //...

  CustomPainter getPainter() {
    return StaticStarsPainter(
      xOffsets: randomStarXOffsets,
      yOffsets: randomStarYOffsets,
      sizes: randomStarSizes,
      totalStarsCount: totalStarsCount,
    );
  }
}
Now we can create our Stars widget like so
class Stars extends StatelessWidget {
  @override
  Widget build(BuildContext context) {
    StarsLayout _starsLayer = StarsLayout(context);

    return CustomPaint(
      painter: _starsLayer.getPainter(),
    );
  }
}
Make sure that when you use the Stars widget, you put it in a Container with width and height values equal to the screen’s width and height. Here we’re adding a gradient as well for a better style:
class StarsContainer extends StatelessWidget {
  @override
  Widget build(BuildContext context) {
    return Container(
      width: MediaQuery.of(context).size.width,
      height: MediaQuery.of(context).size.height,
      decoration: const BoxDecoration(
        gradient: RadialGradient(
          colors: [Color(0xff3f218d), Color(0xff180026)],
          stops: [0, 1],
          radius: 1.1,
          center: Alignment.centerLeft,
        ),
      ),
      child: const Stars(),
    );
  }
}
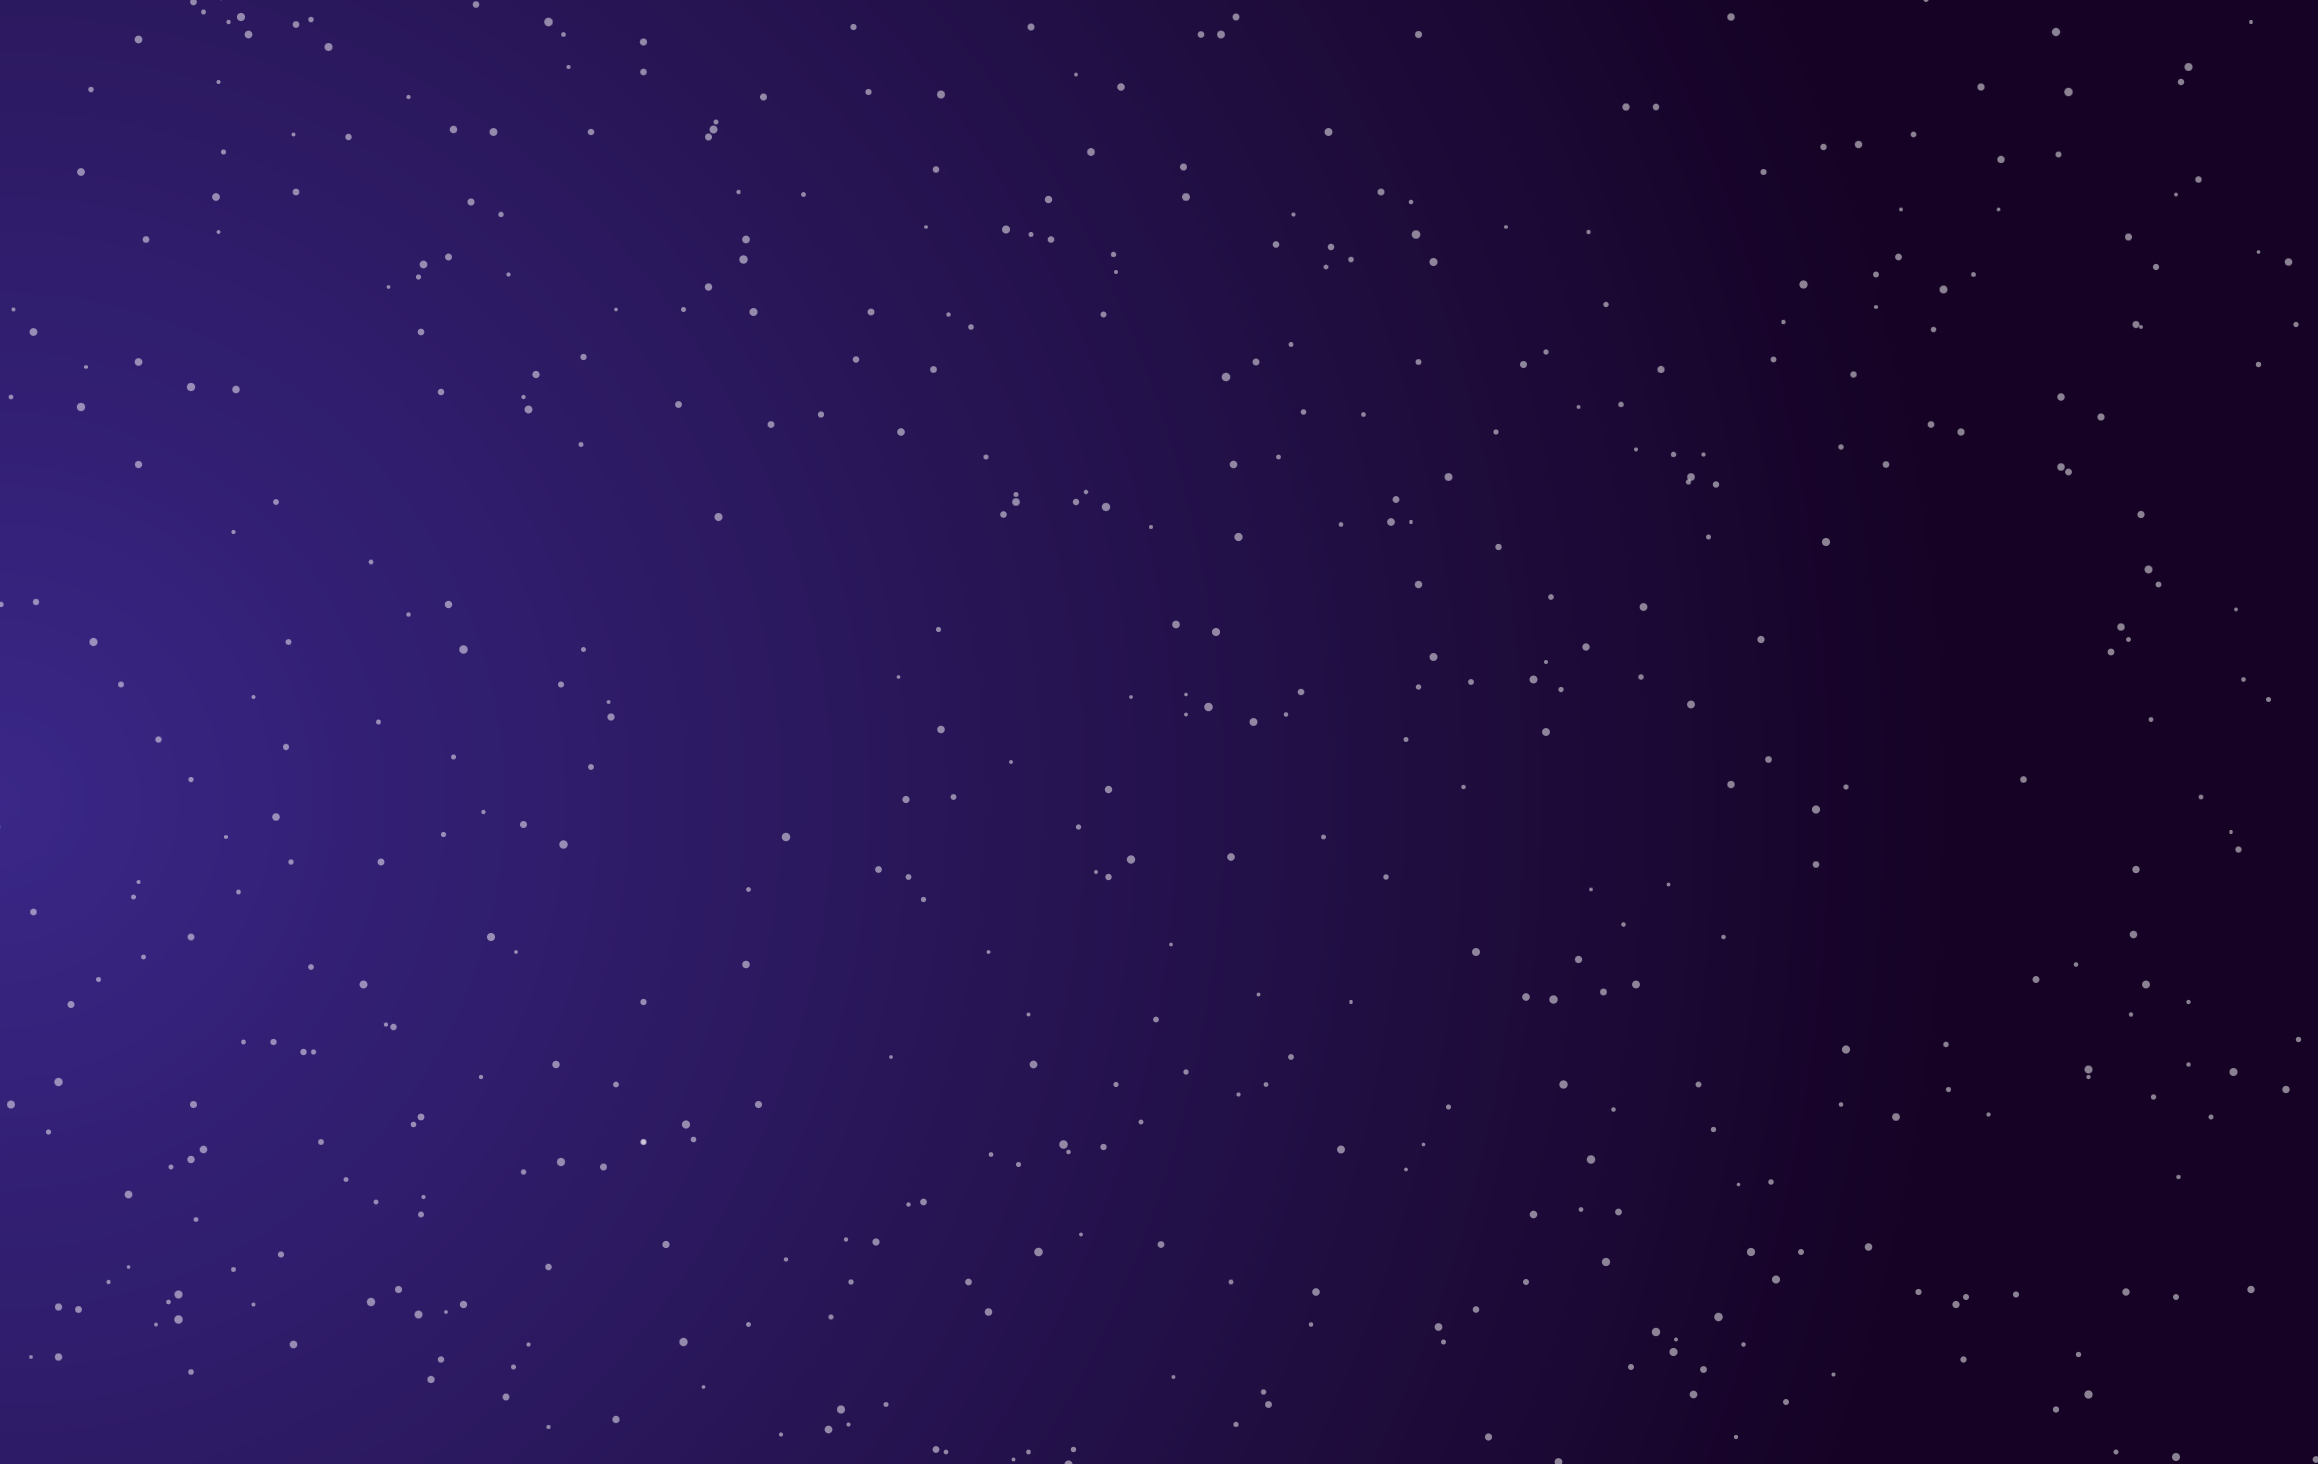
At this point the output should look like this:

2. The Animation
2.1. Updating the StarsLayout Class
If you remember from the planning, we decided that we needed 2 lists of indices of stars, one will be for the stars with a fade in animation, and the other for the stars with a fade out animation. We can define these lists and add them to our StarsLayout class as follows:
class StarsLayout {
  //...

  List<int> get fadeOutStarIndices {
    List<int> _indices = [];
    for (int i = 0; i <= totalStarsCount; i++) {
      if (i % 5 == 0) {
        _indices.add(i);
      }
    }
    return _indices;
  }

  List<int> get fadeInStarIndices {
    List<int> _indices = [];
    for (int i = 0; i <= totalStarsCount; i++) {
      if (i % 3 == 0) {
        _indices.add(i);
      }
    }
    return _indices;
  }

  //...
}
So now basically every (5 * n)th star is a fade-out star, and every (3 * n)rd star is a fade-in star.
We can now add those two lists to the CustomPainter class’s fields and then to the StarsLayout’s getPainter() method.
To create the animation, we need to convert the Stars widget to a StatefulWidget and add the animation code to it as follows:
class Stars extends StatefulWidget {
  const Stars({Key? key}) : super(key: key);

  @override
  _StarsState createState() => _StarsState();
}

class _StarsState extends State<Stars> with SingleTickerProviderStateMixin {
  late final AnimationController _animationController;
  late final Animation<double> _opacity;

  @override
  void initState() {
    _animationController = AnimationController(
      vsync: this,
      duration: const Duration(milliseconds: 1000),
    );
    _animationController.repeat(reverse: true);

    _opacity = Tween<double>(begin: 0.8, end: 0.1).animate(
      CurvedAnimation(
        parent: _animationController,
        curve: Curves.easeInOut,
      ),
    );

    super.initState();
  }

  @override
  void dispose() {
    _animationController.dispose();
    super.dispose();
  }

  @override
  Widget build(BuildContext context) {
    StarsLayout _starsLayer = StarsLayout(context);

    return CustomPaint(
      painter: _starsLayer.getPainter(
        opacity: _opacity,
      ),
    );
  }
}
The code breakdown:
First thing you need to do when you want to create your own animation, is define an AnimationController (line 14). Here we defined our AnimationController, and by adding the SingleTickerProviderStateMixin (line 8) we were able to give `this` as the required `vsync` value of the controller. You don’t need to worry about why we did this, basically the vsync keeps track of the screen so that the animation doesn't run when it's not visible.
We also added a duration to our AnimationController (line 16), and made it repeat with reverse set to true (line 18), so now instead of animating the opacity for example from 0 to 1, then from 0 to 1, …etc, it will animate it 0 => 1 => 0 => 1, …etc.
Next thing we did is create our custom opacity animation using a Tween(line 20), which basically gives us the ability to animate between 2 values of any type, in our case, double. We considered only the fade-out animation now by giving the tween a begin value of 0.8 and end value of 0.1. You’ll see later how we create the fade-in.
We linked our animation with the AnimationController by calling the animate() method on the Tween and giving it a CurvedAnimation with an easeInOut curve for a smooth nonlinear animation.
Of course, with an AnimationController, we should make sure to dispose() it in the widget’s dispose lifecycle method (line 32).
Then we simply passed our _opacity animation into our CustomPainter by passing it to the StarsLayout’s getPainter() method (line 42). That method now should be like so:
class StarsLayout {
  //...

  CustomPainter getPainter({required Animation<double> opacity}) {
    return StarsPainter(
      xOffsets: randomStarXOffsets,
      yOffsets: randomStarYOffsets,
      sizes: randomStarSizes,
      fadeOutStarIndices: fadeOutStarIndices,
      fadeInStarIndices: fadeInStarIndices,
      totalStarsCount: totalStarsCount,
      opacityAnimation: opacity,
    );
  }
}
Now let’s see how we used this animation in our CustomPainter:
class StarsPainter extends CustomPainter {
  final List<int> xOffsets;
  final List<int> yOffsets;
  final List<int> fadeOutStarIndices;
  final List<int> fadeInStarIndices;
  final List<double> sizes;
  final Animation<double> opacityAnimation;
  final int totalStarsCount;

  StarsPainter({
    required this.xOffsets,
    required this.yOffsets,
    required this.fadeOutStarIndices,
    required this.fadeInStarIndices,
    required this.sizes,
    required this.opacityAnimation,
    required this.totalStarsCount,
  }) : super(repaint: opacityAnimation);

  final Paint _paint = Paint();

  double _getStarOpacity(int i) {
    if (fadeOutStarIndices.contains(i)) {
      return opacityAnimation.value;
    } else if (fadeInStarIndices.contains(i)) {
      return 1 - opacityAnimation.value;
    } else {
      return 0.5;
    }
  }

  @override
  void paint(Canvas canvas, Size size) {
    for (int i = 0; i < totalStarsCount; i++) {
      _paint.color = Colors.white.withOpacity(_getStarOpacity(i));
      canvas.drawCircle(
        Offset(xOffsets[i].toDouble(), yOffsets[i].toDouble()),
        sizes[i],
        _paint,
      );
    }
  }

  @override
  bool shouldRepaint(covariant CustomPainter oldDelegate) => false;
}
The code breakdown:
Conveniently, the CustomPainter class takes a Listenable field `repaint` that triggers repainting the CustomPainter whenever that listenable receives a new value. This works great for us since our opacity Animation class extends a Listenable. And that’s why we passed our opacity animation to our StarsPainter and then to the super class (line 18).
Notice that our shouldRepaint method still returns false (line 45), because it doesn't need to return true when we’ve already assigned a Listenable to the super class’s repaint parameter.
To make the opacity animation actually work, we created the _getStarOpacity function that takes an index, if that index exists in the fadeOutStarsIndices list, then it should return the opacityAnimation.value as an opacity (line 24). And if that index exists in the fadeInStarsIndices, then it should return (1 - opacityAnimation.value) as an opacity (line 26). This allows the animation to animate between 0.2 and 0.9 (a fade-in) instead of between 0.8 and 0.1 (the original fade-out). If that index doesn't belong to either lists, return a fixed opacity.
Now we simply call this function when we assign color to our Paint before drawing each circle (line 35)
And that’s it! You now have cool animated stars!
Checkout the DartPad and see the code above in action!
Stay tuned for more tutorials for features in the app! Me and Dashtronaut are working on them right now 💙
